|
This Package Workshop will show you how to do the following:
- Create a new Group and rename it
- Create a new Package in that group and rename it
- Edit the Package Script to display a message when it is executed and collect user input
- Test your new Package against the LocalHost
Pre-requisites
Make sure you have Group and Package Management permissions
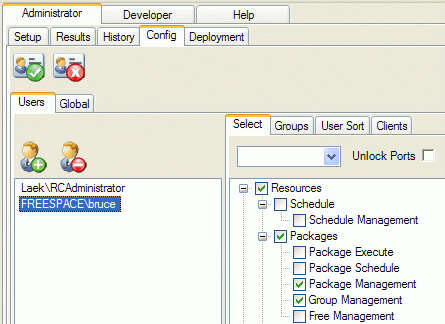
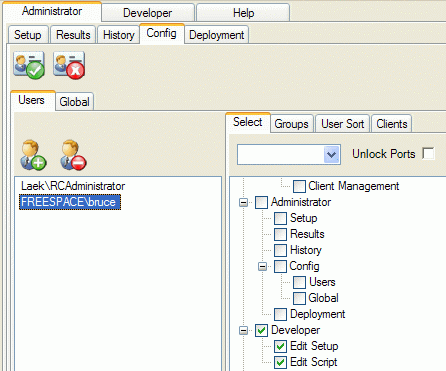
Make sure you have Edit Setup and Edit Script permissions
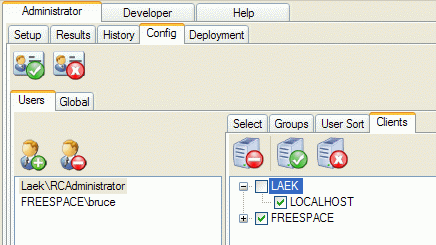
Make sure you have have permissions to access the LOCALHOST Client
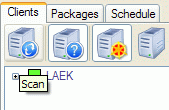
Refresh your Client display to see the LOCALHOST Client if necessary
Create a new Group and rename it
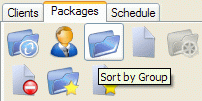
Select the "Sort by Group" button to view groups and packages
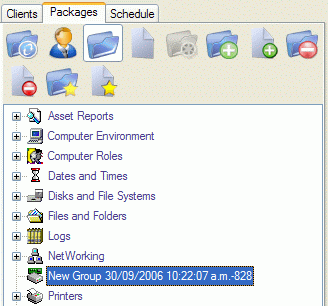
Select the "New Group" button

This will create a new Group you can make packages in
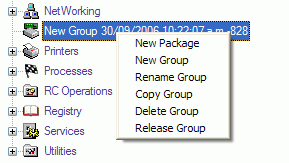
RMB on the Group and select "Rename Group" from the drop down menu
Give the Group a new name i.e. "My First Group"

Create a new Package in that group and rename it
While your Group is highlighted, select the "New Package" button to create a new package in this Group.
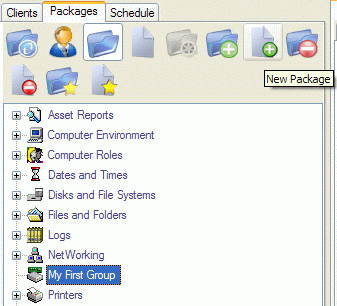
A new Package is created in your Group

RMB on the Package and select "Rename Package" from the drop down menu
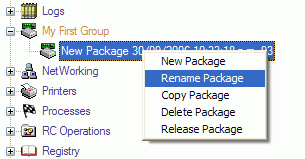
Give the Package a new name i.e. My First Package

Edit the Package Script to display a message when it is executed
Select the "Developer" tab

Select the "Edit Script" tab
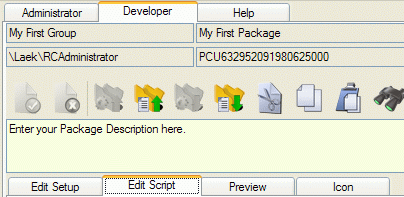
insert vbscript to display a messagebox to the user
i.e. MsgBox "Hello world!",0,"My First Package Script"

The first parameter is the text string that is displayed in the message box.
Here, it is "Hello world!"
The second parameter is a number (or expression) indicating which buttons should be displayed in the message box, such as OK, Yes, No, and Cancel.
If you don't specify a number, you need to include two commas to indicate that this parameter is left blank.
In that case, VBScript's default value is 0. Other options (and the buttons that will appear on your message box) are:
0 OK
1 OK, Cancel
2 Abort, Retry, Cancel
3 Yes, No, Cancel
4 Yes, No
5 Retry, Cancel
The third parameter is a text string for the title of the message box.
It is always good to give your titles a descriptive name for easier review by yourself or others looking at your code.
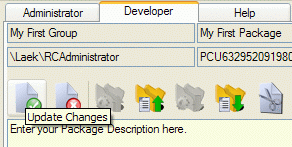
Select the "Update Changes" button to save your Package
IMPORTANT - If you do not select the "Update Changes" button when you have finished editing, your changes will NOT be saved !!!
Test your new Package against the LocalHost
Select the "Administrator" tab. Select the "Setup" tab if it is not already selected.

Select the LOCALHOST Client from the "Clients" tab
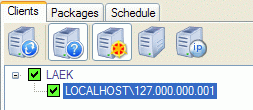
Select the "Execute" button on the Setup page to send your package to the LOCALHOST Client

Your package will be sent to the target Client(s)

Your message box will appear on the screen. Click the "OK" button to make your message box close.
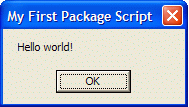
You have successfully created your first Package.
Try changing the message, title and buttons that appear on your message box.
|


